DIY with Me and My Hubs - Pretend Shop for Kiddos!
Motivation Monday

Happy Monday! Today we are excited to start a new series on the blog. The series, “DIY with Me and My Hubs”, will be our way of sharing projects Mike and I have taken on (whether they are projects we have created or projects we have read + learned about that became inspiration for our own household needs|wants). Since Mike and I are DIYers and love to create, there have a been a lot thus far. Some live permanently in our old home, others are movable and some now live in our “new” renovated (by us!) farmhouse.
Mike and I make a great team - I design a project from inspiration or sometimes out of nowhere (just based on our family’s needs) and Mike constructs it. Once it is constructed, we work together to get the finished product complete. At the very end of the project, I like to consider myself the Joanna Gaines of the operation since my favorite part is when I get to set-up it all up and put all of the finishing touches on whatever it is to really bring it to life! This works well for us since we haven’t been willing to compromise style for pieces that will live in our home for the duration of our daughters’ upbringing! Today’s project - a mini pretend play retail shop (lemonade stand, puppet show stage, etc) for kiddos….
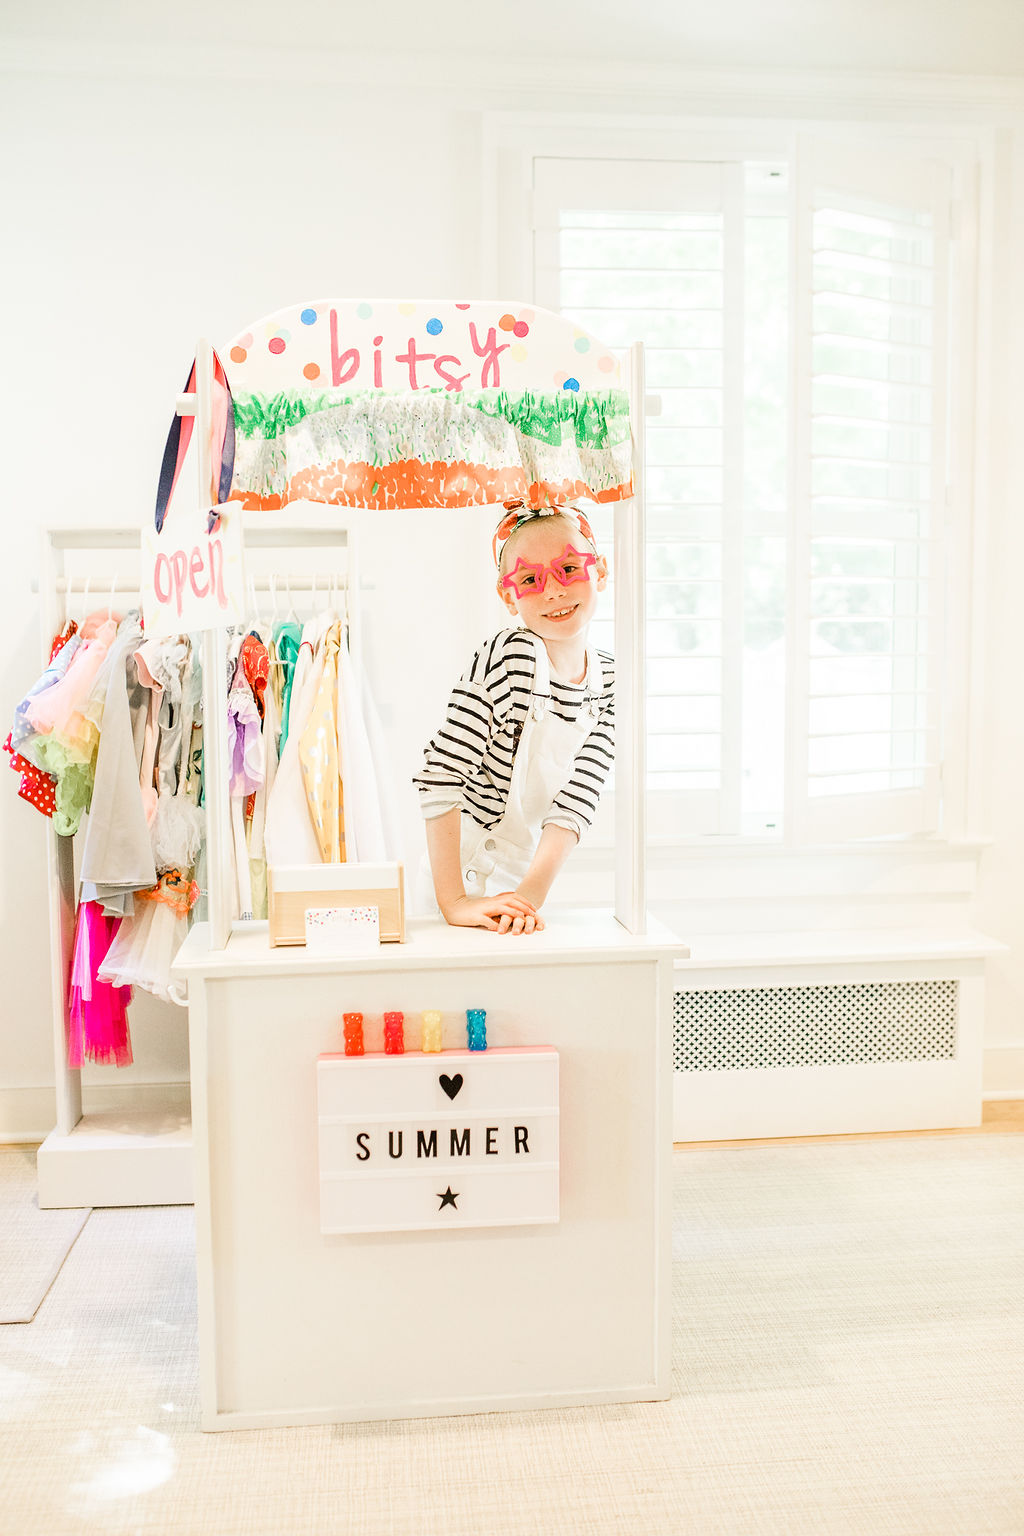
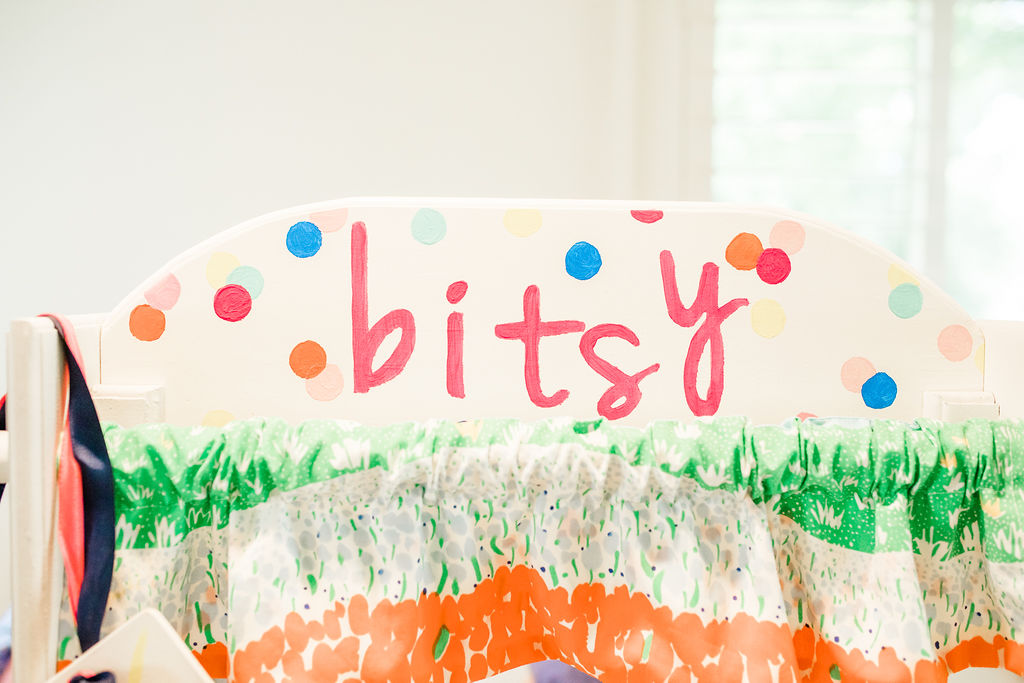
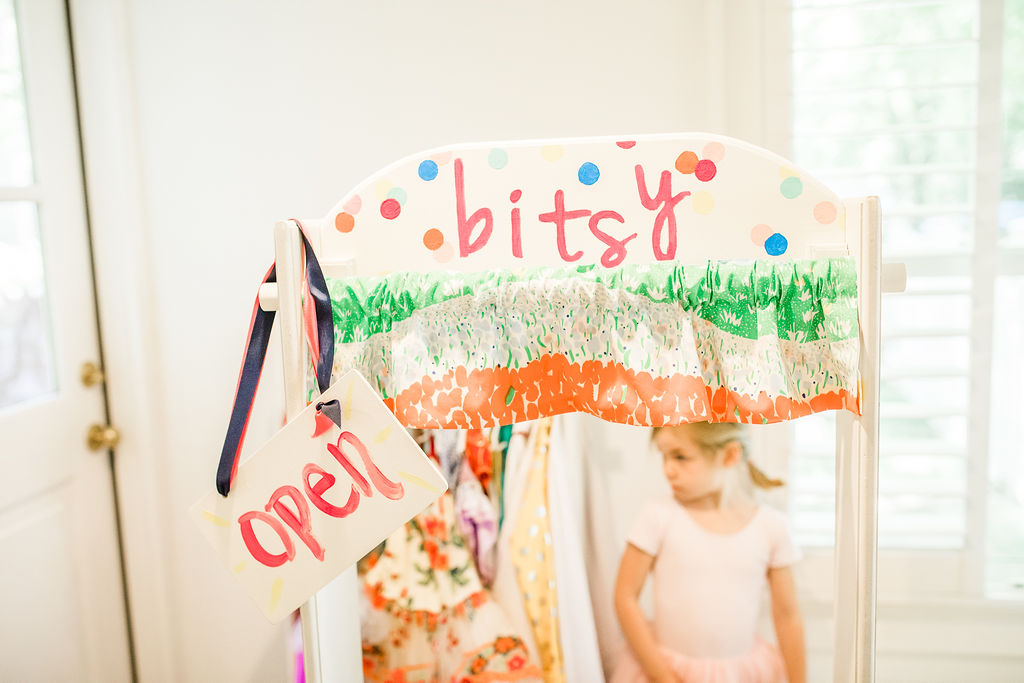
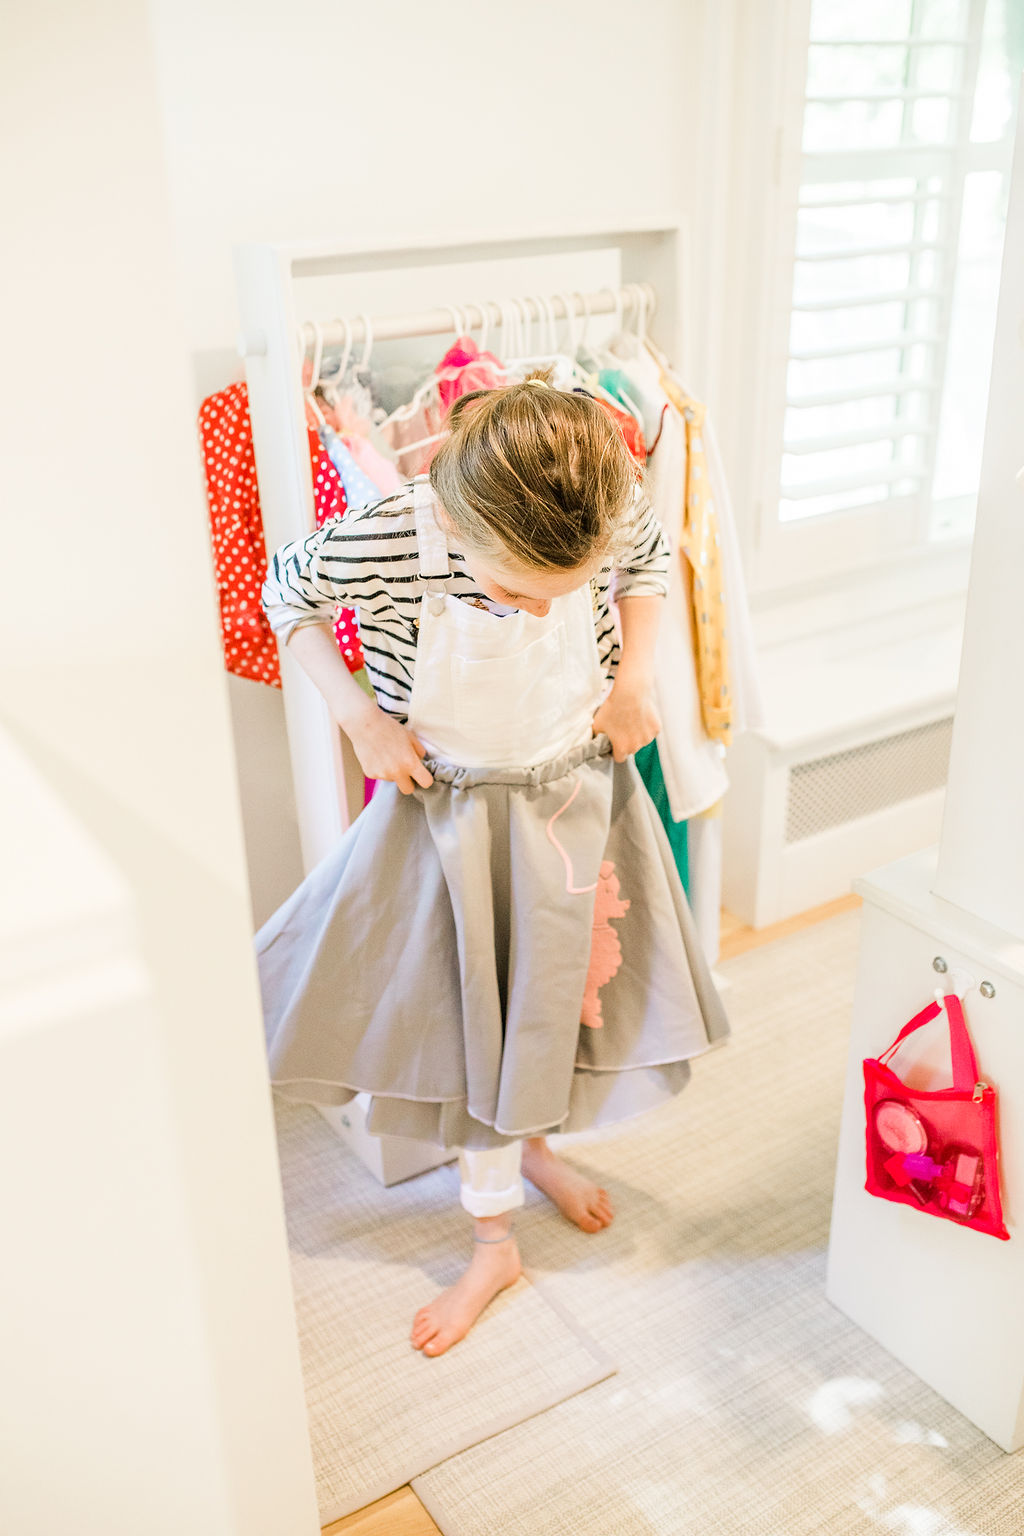
A few years back when Lucy was newly loving dress-up clothing and as our collection rapidly grew, I started to look for ideas to store the dress-up. At the same time I was also looking for a “store front” type play set. Eventually the two ideas were married and the “Bitsy Retail Shop” was born! We gifted it to Lucy that Christmas. Lucy adored it and not soon after Greer kicked right in. The shop now lives in our new family room and acts as a decoration piece. Kids that visit gravitate toward it. They play and play and play and it is just so much fun to watch. Now that Lucy is getting older, her creativity has sky-rocketed. Not only are her dress-up creations exceptional, but her plot ideas are so fun. Another bonus to this shop is that the Bitsy sign on the top is inter-changeable. We had the girls create a Lemonade Stand sign a couple years ago, so we use this as their base for all of their Lemonade stands as well!
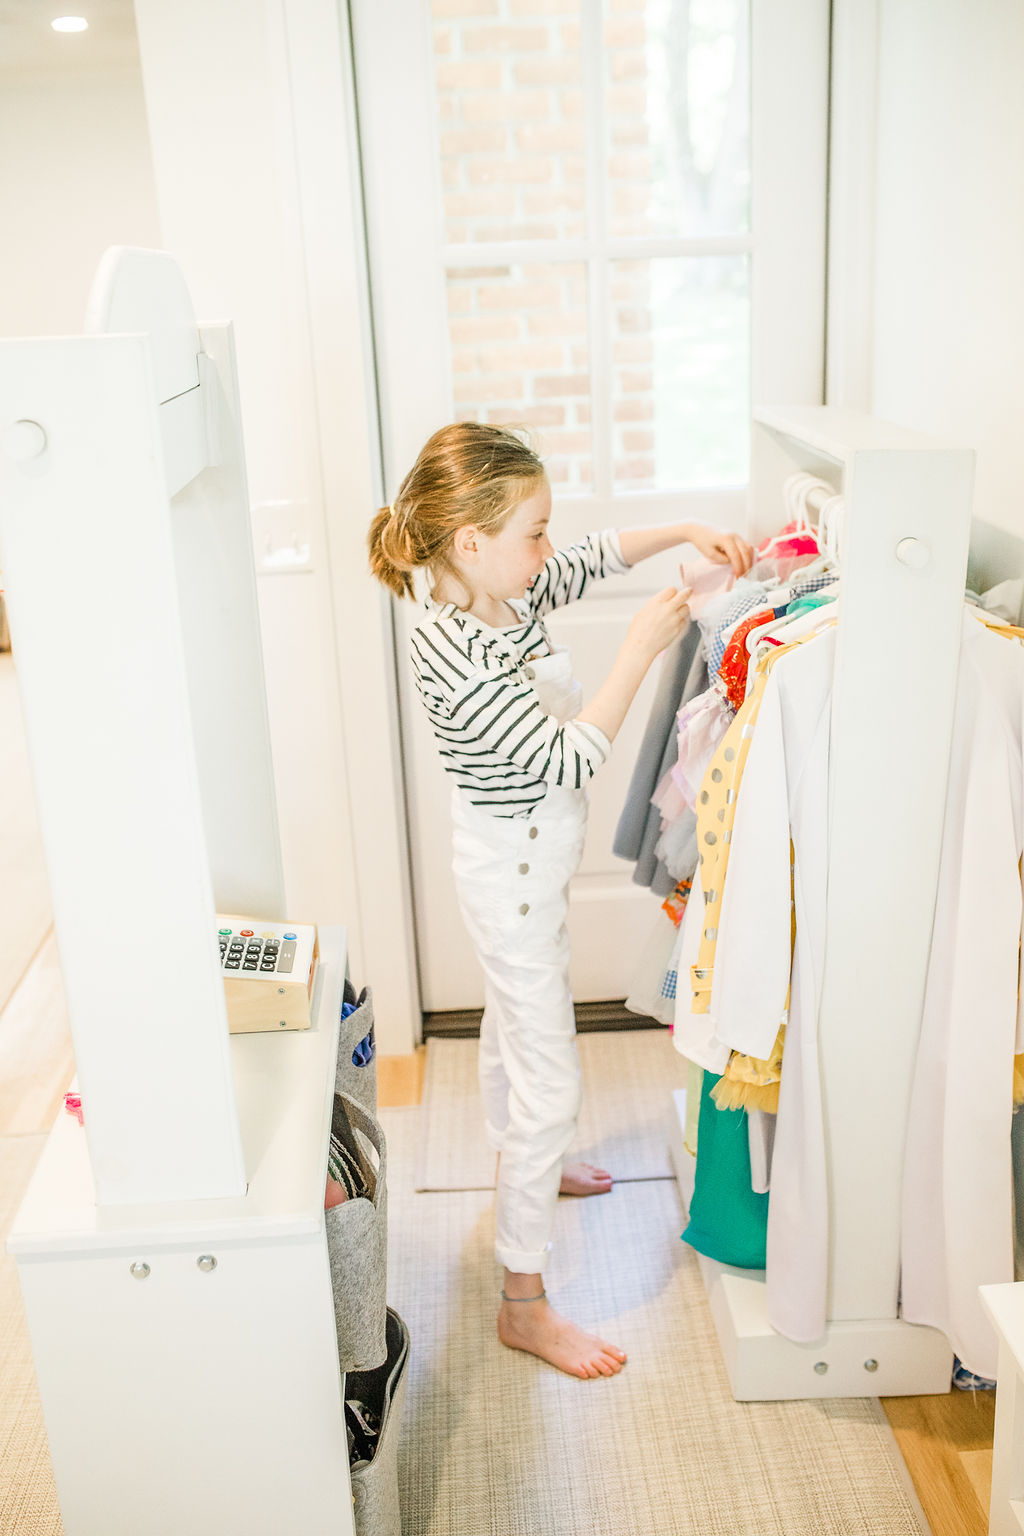
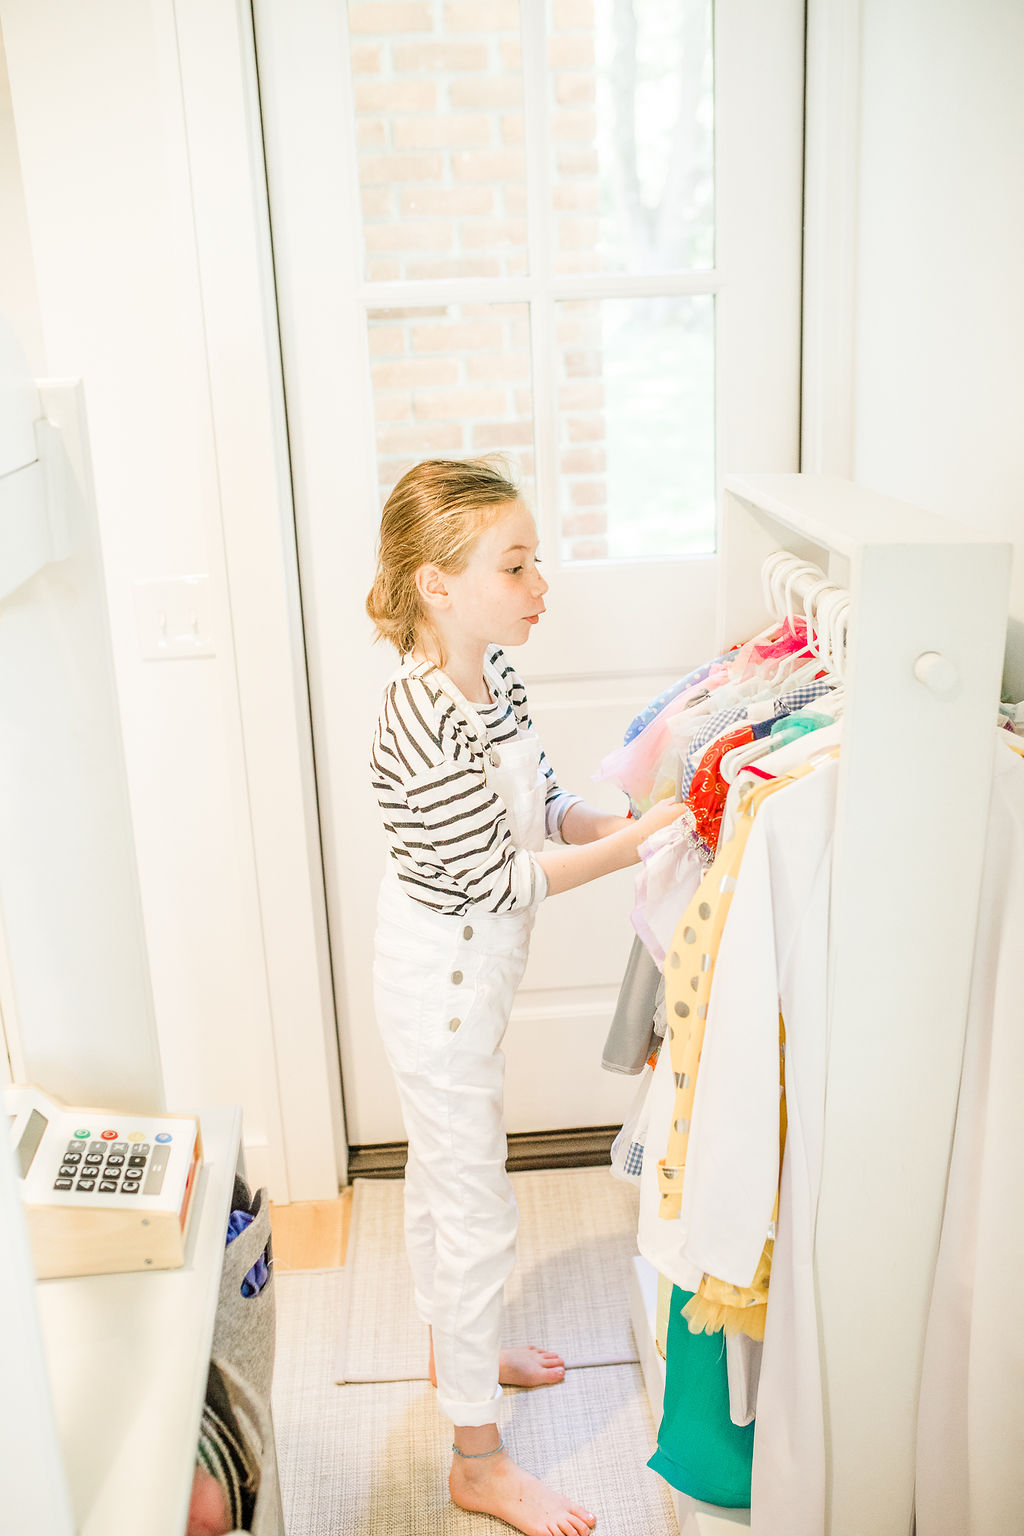
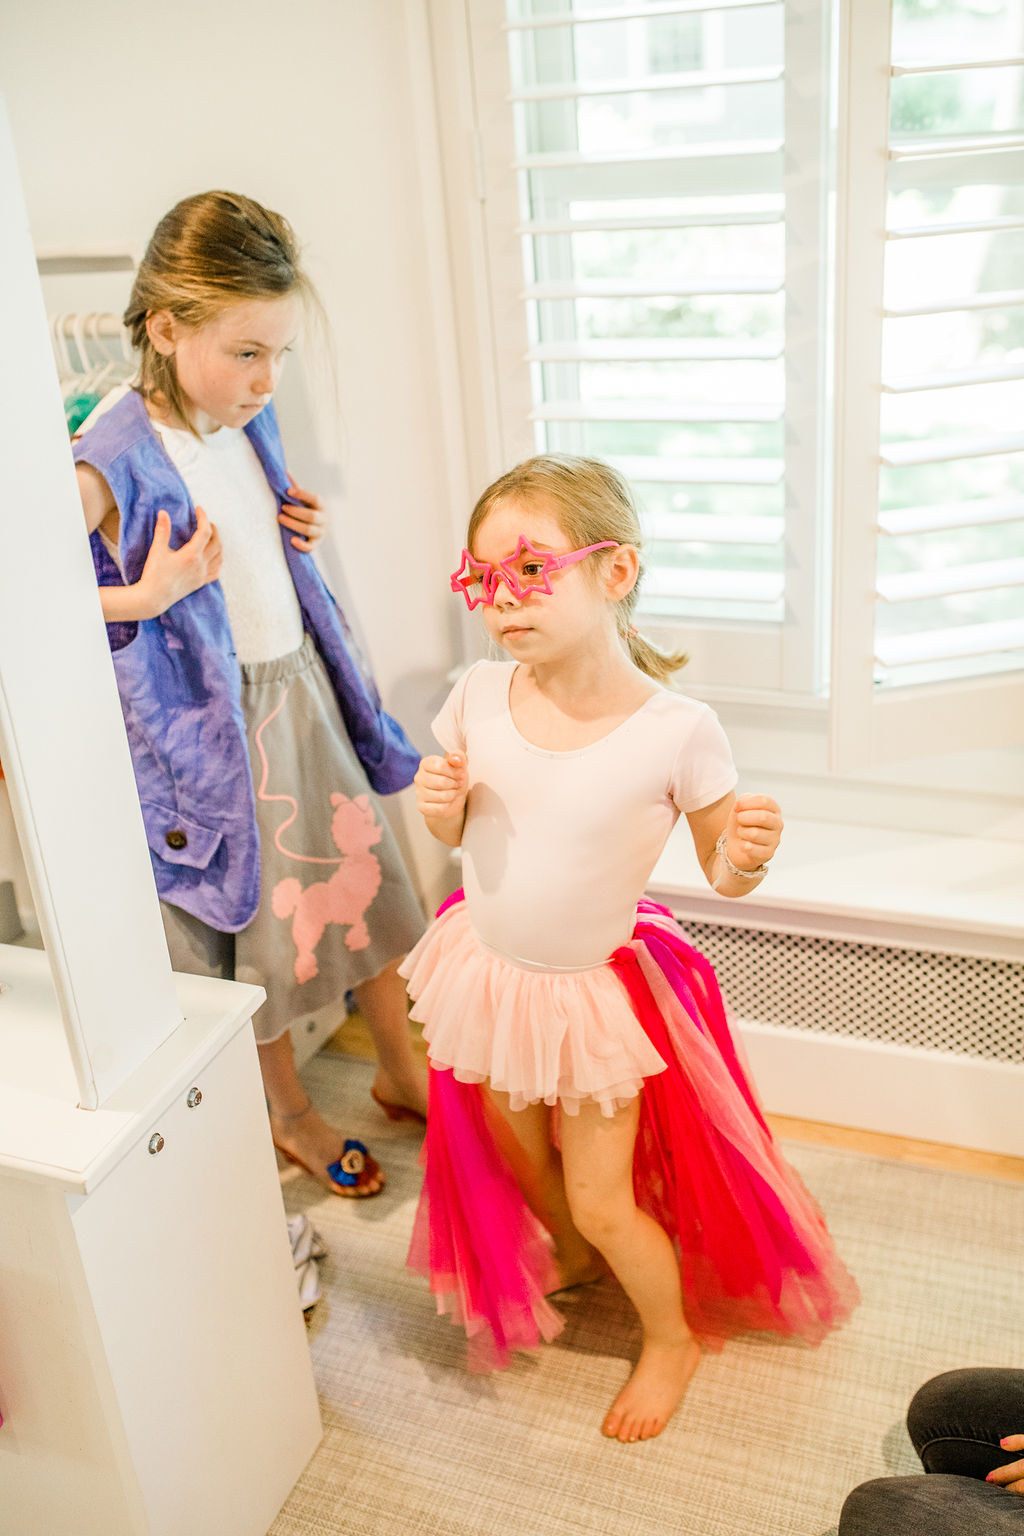
Behind the shop you see our dress-up “closet” rack. This has been key for dress-up organization. I purchased a few packs of these children’s hangers . Of course I wanted the cute wooden hangers, but felt the plastic are safest and more practical (quieter, too!).
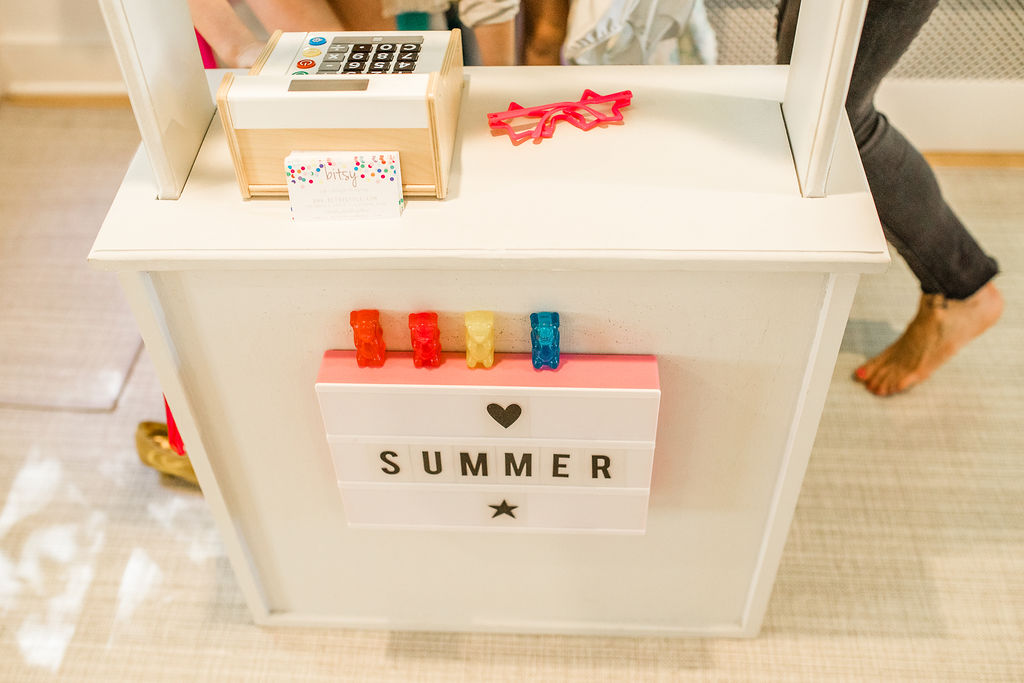
Our light box sign is from a shop in NYC I snagged a few years back, but you can find a similar one here. We bought the gummy bear magnets (that rest on the top of the light box sign) at Flying Tiger a while back in NYC as well, but I cannot find them anywhere now! (I was so bummed b/c we have 5, but right before we snapped the photos Greer hid the purple 😏.
Fun fact - the little curtain at the top was made by Mike’s mom with fabric that hung in Mike and his sisters’ rooms as babies! I adore it - a subtle nod to growing up and the fabric is just so colorful!
BUILDING INSTRUCTIONS (from Mike)
The first thing I did was create a box using 1x12 boards. I used Poplar which is harder than Pine but cheaper than maple. The harder word is important since the shop will take a beating from good use. Your local home improvement store may not have 1x12 poplar so you may have to search out your local lumber yard.
To Join the sides, top and bottom of the box I used the Kreg Pocket hole Jig and glue. It has become one of my favorite tools.
Carefully lineup the slides using a straight edge as a guide. That should create a nice strong box when done.
For the front I used a piece of ¾ Birch Plywood. I set this about a half inch back within the box. I used the pocket hole jig to set this in place. This also provides a lot of structure to the box.
I used a router to clean up the edges on the top piece and provide a decorative finish. If you don’t have a router I suggest using a sander to smooth out any sharp edges.
The front of the box was painted with magnetic paint to allow the kids to hang different things with magnets. I used a couple of coats to try and create a surface magnets would stick to.
The sign stand was made with 1x6 poplar. The sides go through the top of the box and are bolted to the inside of the box to make it extremely secure and also allows another way to pick the shop up when you need to move it. I cut the holes in the top using an oscillating saw like the this one.
I used a 1” dowel for the top fabric curtain. I used a 1” forstner bit to go through the sides. A hole saw bit should work just as well.
The sign was cut with a jig saw from a piece of 1x6 piece of poplar. I used the router bit from the box top to provide a decorative finish. It sits on a piece of 1x2 poplar that runs between the top of the sides and held on the sides by a couple of small pieces of poplar that was left over.
On the inside of the box we added a shelf to allow for additional storage. I used a piece of ½ plywood for that.
The entire shop was painted with Benjamin Moore Eggshell finish. This has proved very durable to all the fun the kids have had with the shop.
Here are the measurements for the box:
The box is 24” tall and 24” wide.
The top is 26” wide.
The sides are 36” tall and go about 4” into the base of the box where they are secure.
To see more on the Lemonade Stand version of the shop, hit up our post here!

Happy building, playing + enjoying!
Images (except last image), Kristin Wood Photography